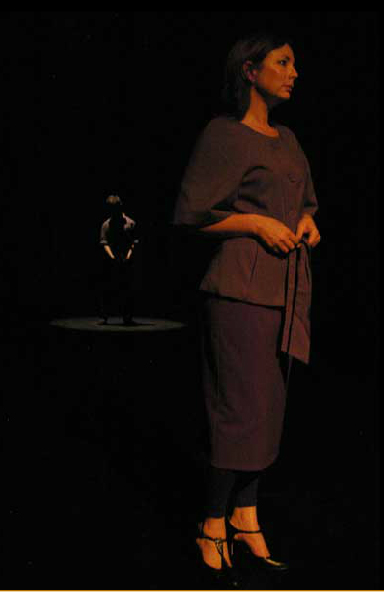
This lesson is designed to introduce students to theatrical lighting design. It will give students an insight into the skills and processes involved, from the first reading of a script to the final realisation of the design. Students will have an opportuntity to learn about the design process, before attempting to create their own design for a scene of their choosing.Lesson PlanRequired Materials
|  |
Lesson Process
- View the following videos with the class. These explain the two most common lighing fixtures, and the four most common positions.
- Profile
- Fresnel
- ParCan (Third most common light source- good for simply "chucking" colour or white light, e.g. DJ lights)
- Lighting positions
- Discuss the reasons for lighting. You
might like to brainstorm this with students... try using wallwisher to create an interactive mindmap that you can control and moderate.
- Have students view some video footage about the work of the lighting designer, and some interesting lighting effects. You might like to find your own footage about a film or play students have worked on, or try these out for size.
- Have students create a lighting design for a scene. This scene could be an excerpt given
out or it could be from an
upcoming student production, or a text that the students are currently
studying.
- Have
students work create a basic design plan, showing where they would place the lights, and listing any gel (colour) or gobo (stencil cutout) catalogue numbers they would use. Follow the links to see catalogues. Students should then annotate the design plan explaining why they chose these specific colours, angles etc.